Today, I’ll guide you through creating a custom depth effect lock screen wallpaper on iOS 16. This nifty feature allows you to make your lock screen stand out with a unique and stylish appearance.
What You’ll Need:
- An iPhone running iOS 16 (currently in beta)
- A photo with a clearly defined background
Steps:
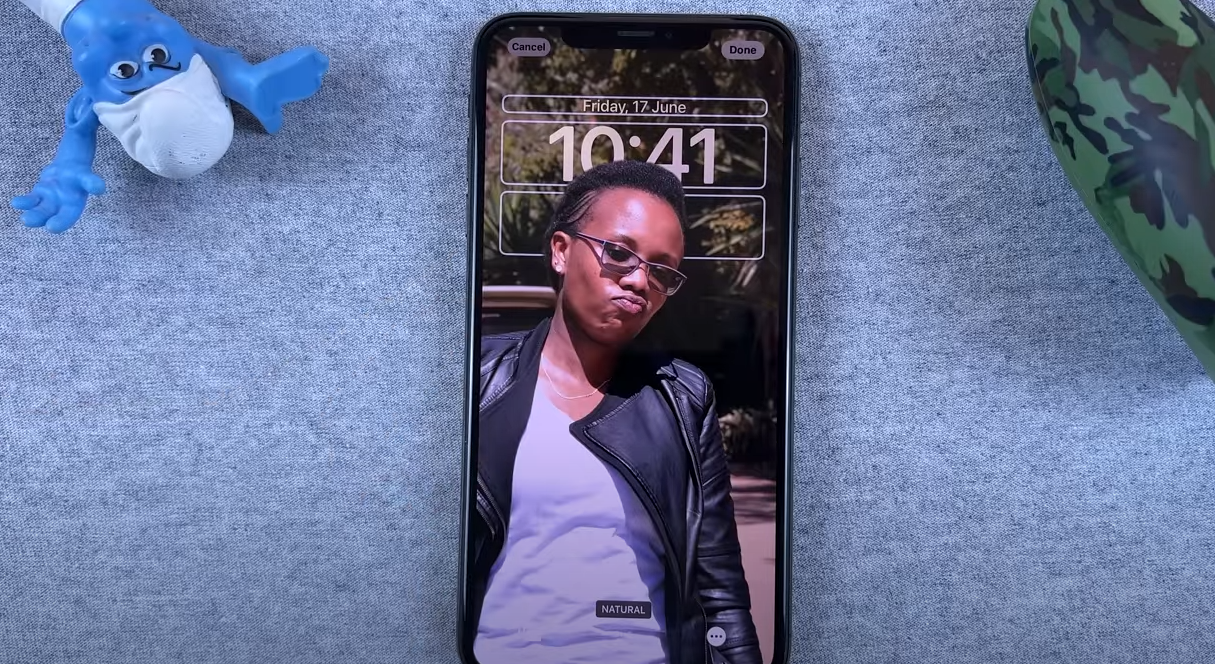
- Access your lock screen and tap and hold on the screen.
- Tap the plus sign at the bottom and choose “Photos.”
- Select the photo you wish to use.
- Customize the widgets and the clock on the lock screen as desired.
- There are two methods to disable the depth effect:
- Add widgets to the lock screen. The depth effect will disappear, and the photo will automatically position itself behind the widgets.
- Tap the menu at the bottom, select “Disable depth effect.“
- You can also choose to use natural colors or black and white for the depth effect.
Tips:
- Utilize a photo with a clear separation between the subject and the background.
- Ensure the photo is well-illuminated.
- Avoid using photos with busy or cluttered backgrounds.
- Experiment with different depth effect settings to find the one that best suits your preferences.
With a touch of creativity, you can craft a custom depth effect lock screen wallpaper that is sure to impress your friends and family.
I hope this guide assists you in creating a custom depth effect lock screen wallpaper on your iPhone. If you have any inquiries, please feel free to leave a comment below.
Additional Pointers:
- If you’re unsure about capturing a portrait mode photo, you can utilize the built-in Camera app on your iPhone. Simply open the Camera app and swipe to the “Portrait” mode.
- Consider using a third-party photo editing app to create a depth effect photo.
- Once you’ve crafted your depth effect photo, you can use it to create a custom depth effect lock screen wallpaper by following the steps outlined above.

Greetings, fellow tech enthusiasts! I'm TechGuru, your friendly companion on the digital journey. For the past six years, I've been immersing myself in the world of technology, demystifying gadgets, applications, and software to empower you to maximize their potential.
I am driven by a passion for making technology accessible and enjoyable for all individuals. Whether you are an experienced veteran or just embarking on your tech odyssey, I possess the tips, tricks, and tutorials to elevate your skills to new heights.
Join me as I explore the latest trends, unveil hidden features, and share my insights on everything from smartphones and smart homes to the coolest new apps and gadgets. Let's embark on a journey of making technology enjoyable together!
Latest posts by TechGuru (see all)
- The Best Dell All-in-One Computers for Work, Entertainment, and Family Use - August 6, 2024
- Why Can’t I Update My iPhone to iOS 18? - August 1, 2024
- How to Update to iOS 18: A Step-by-Step Guide for a Seamless Upgrade - July 7, 2024